Theme Installation
Install a theme using wordpress admin
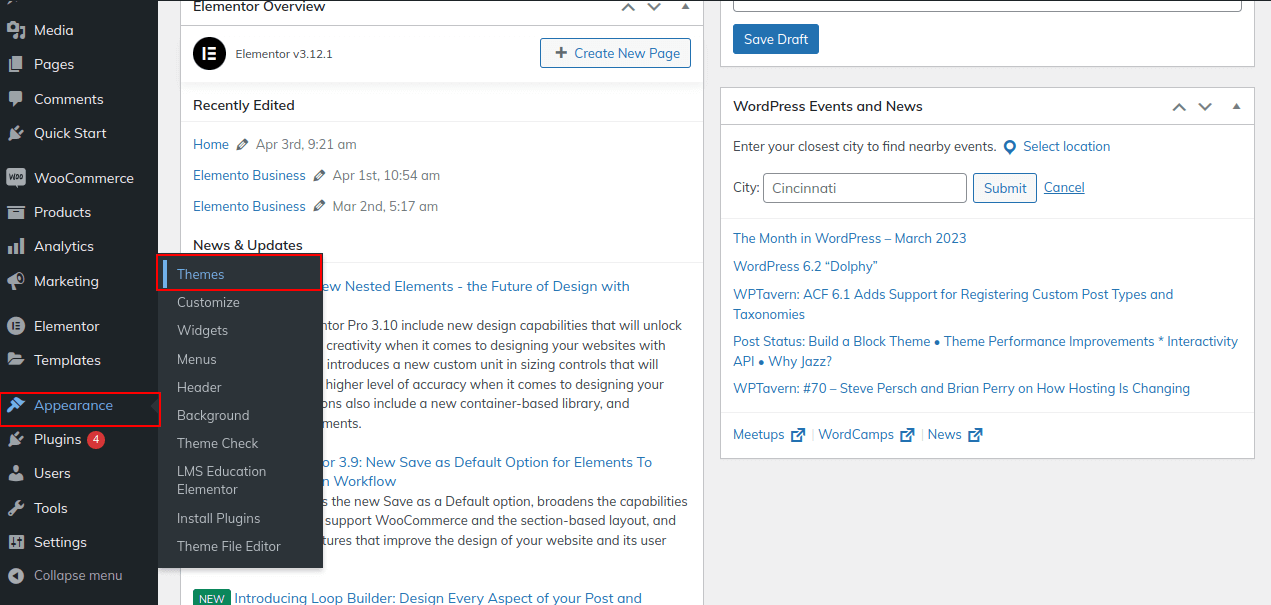
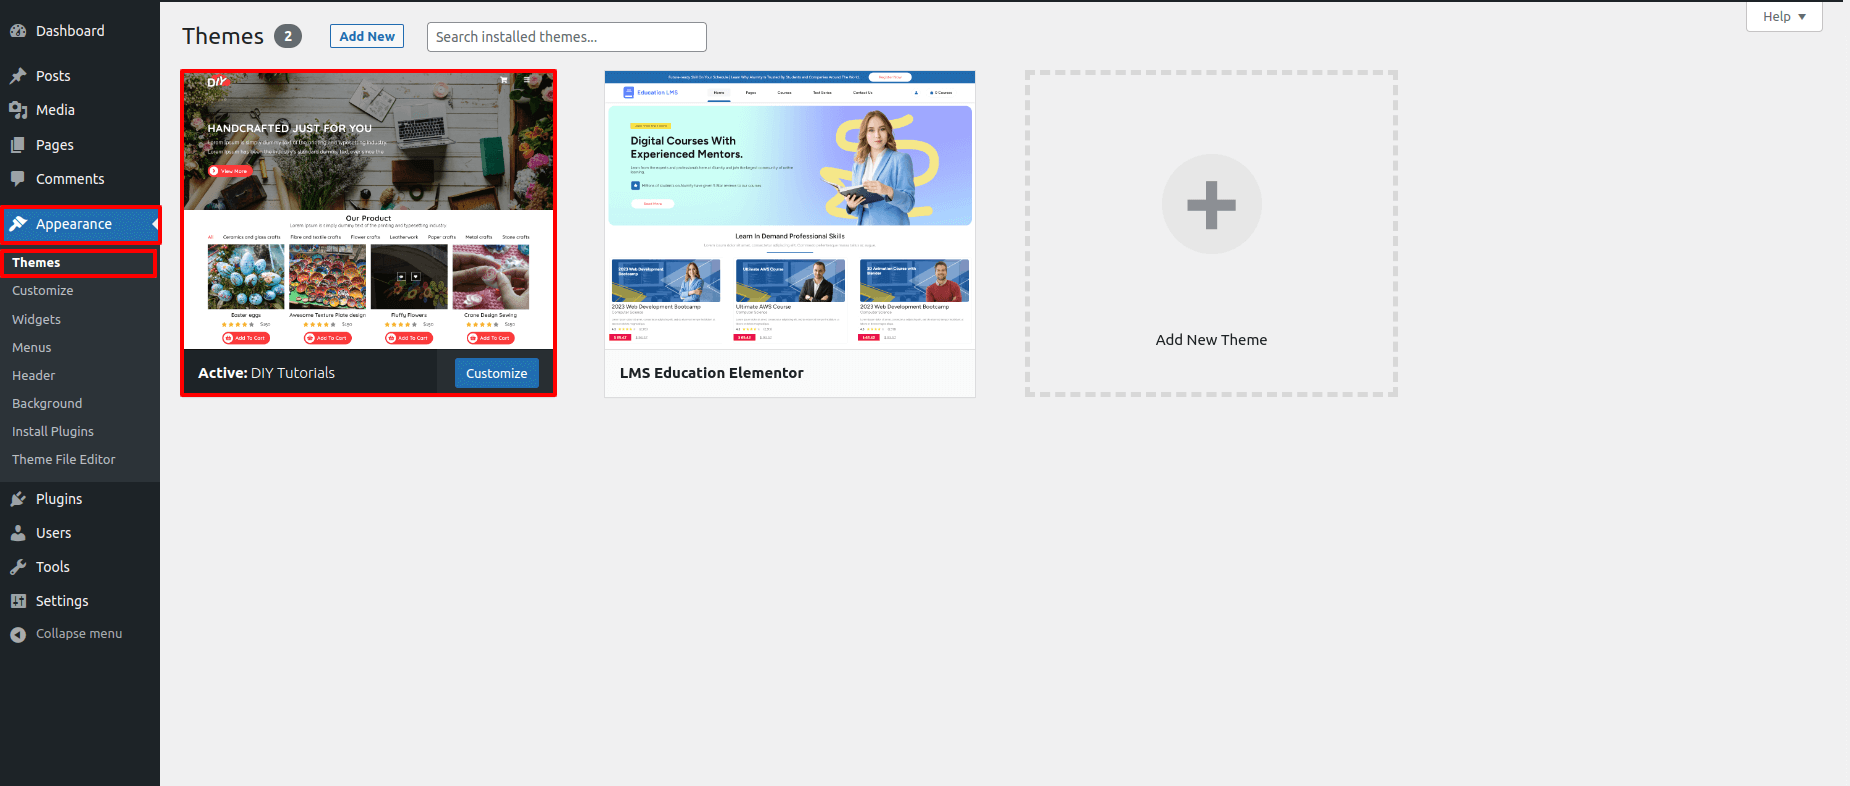
Firstly, you need to log into your WordPress admin area.
1.Click on Appearance Themes
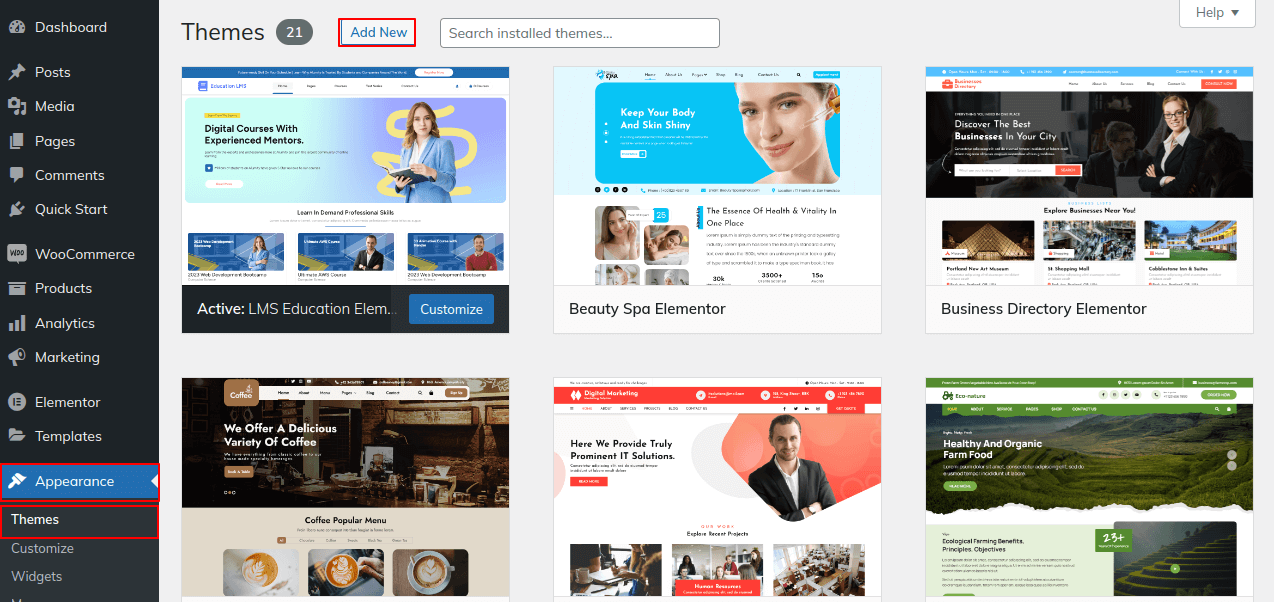
2. On the themes page, click the Add New button .
3. After clicking Browse, select your diy-tutorials.zip file and click Install now.
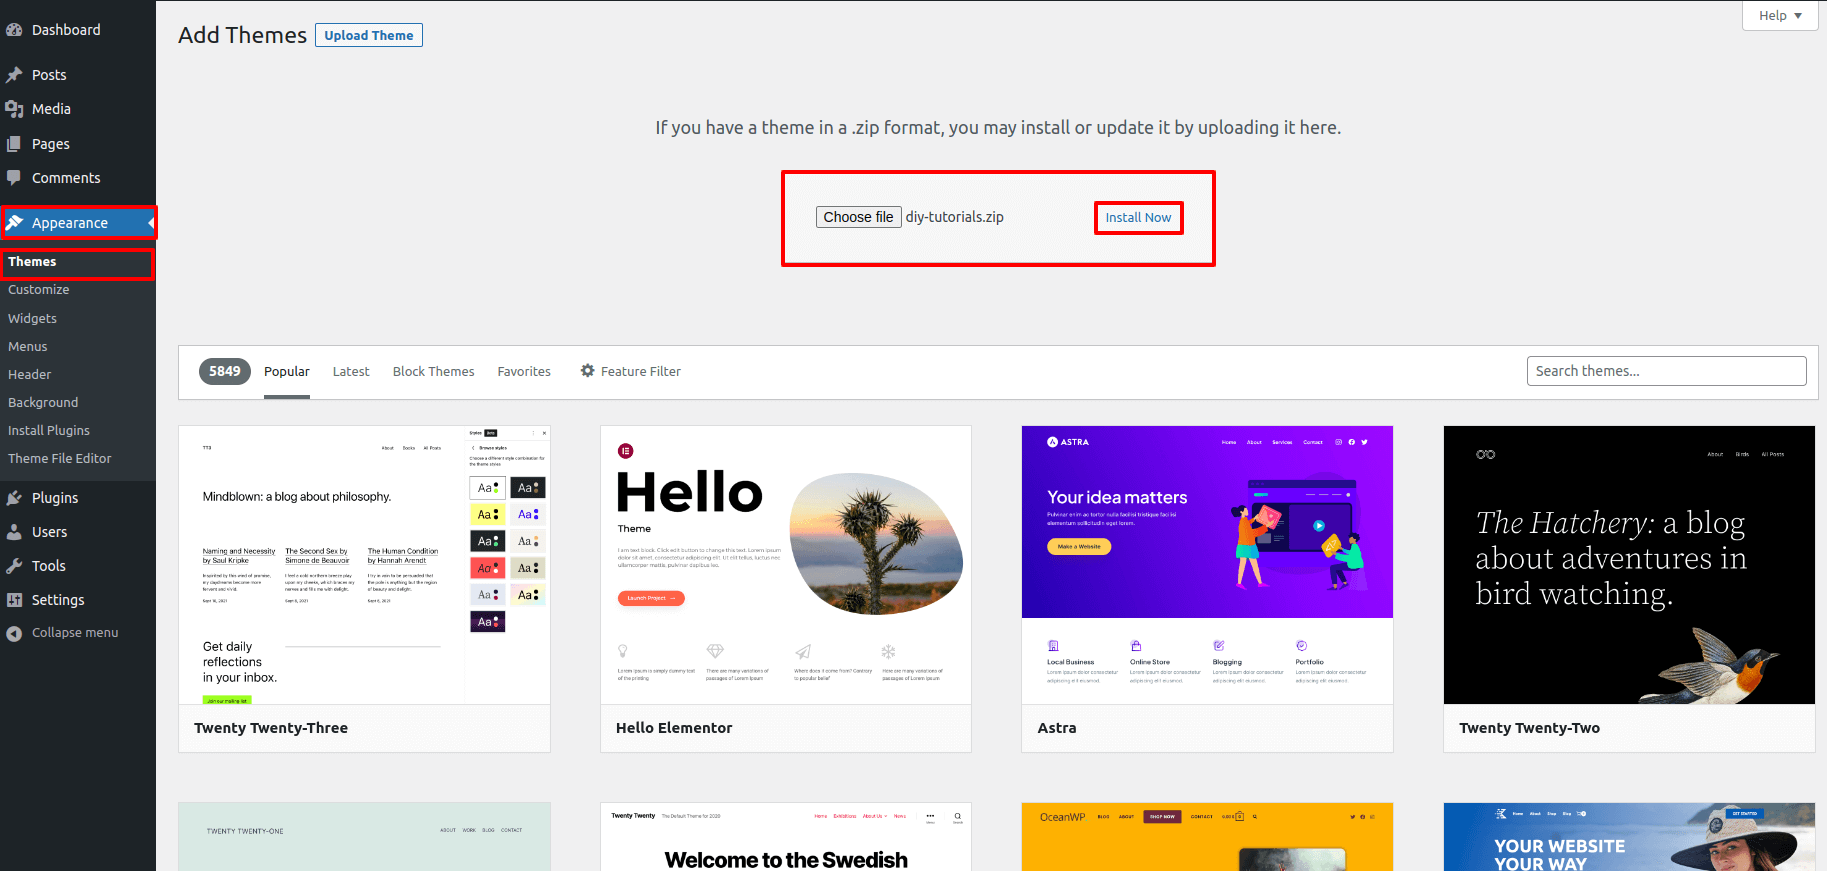
4. Install and Activate your theme.
Plugin Installation.
Elementor Plugin , WPElemento Importer Plugin , Kirki Customizer Framework plugin , ShopLentor and woocommerce.
To install the required plugins, follow these steps:
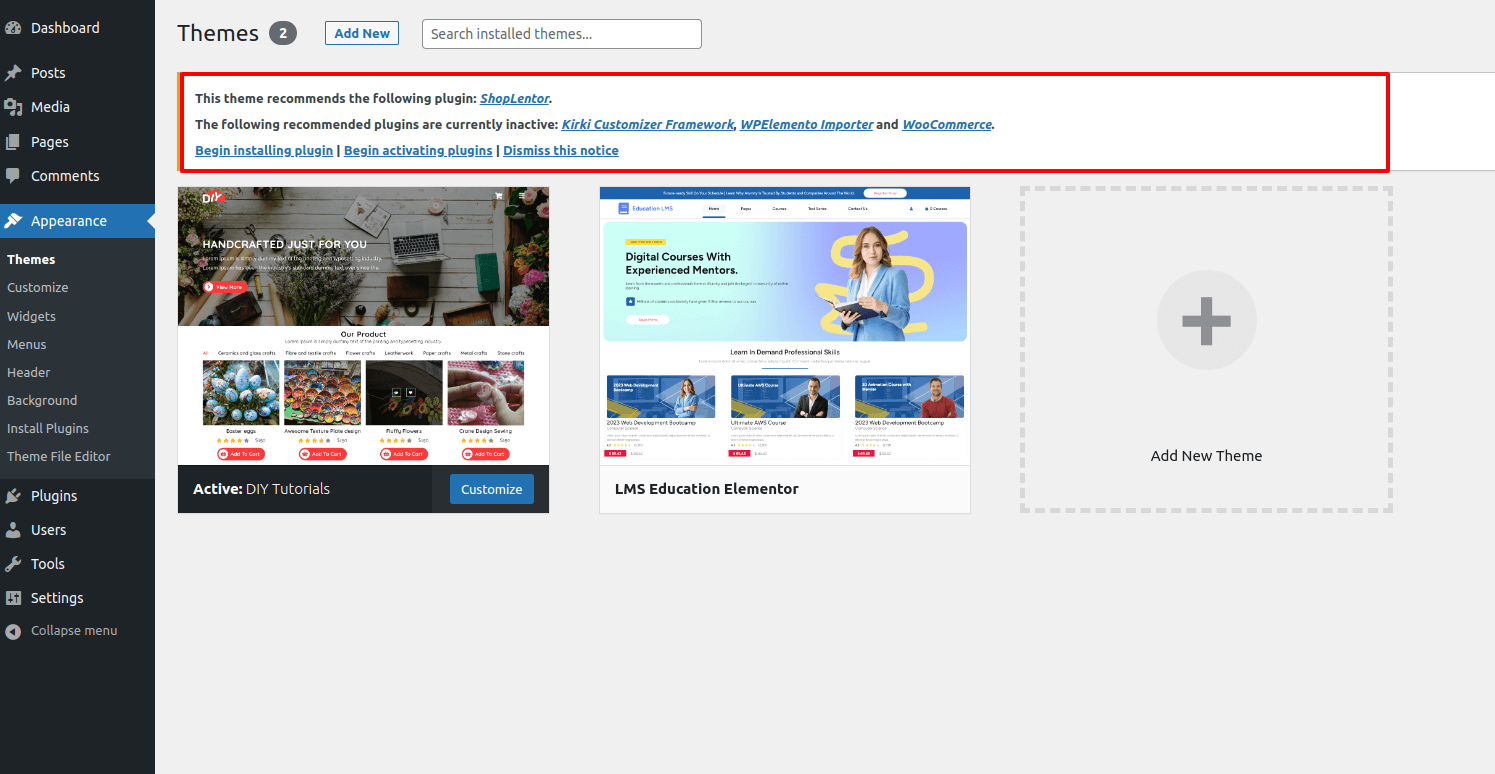
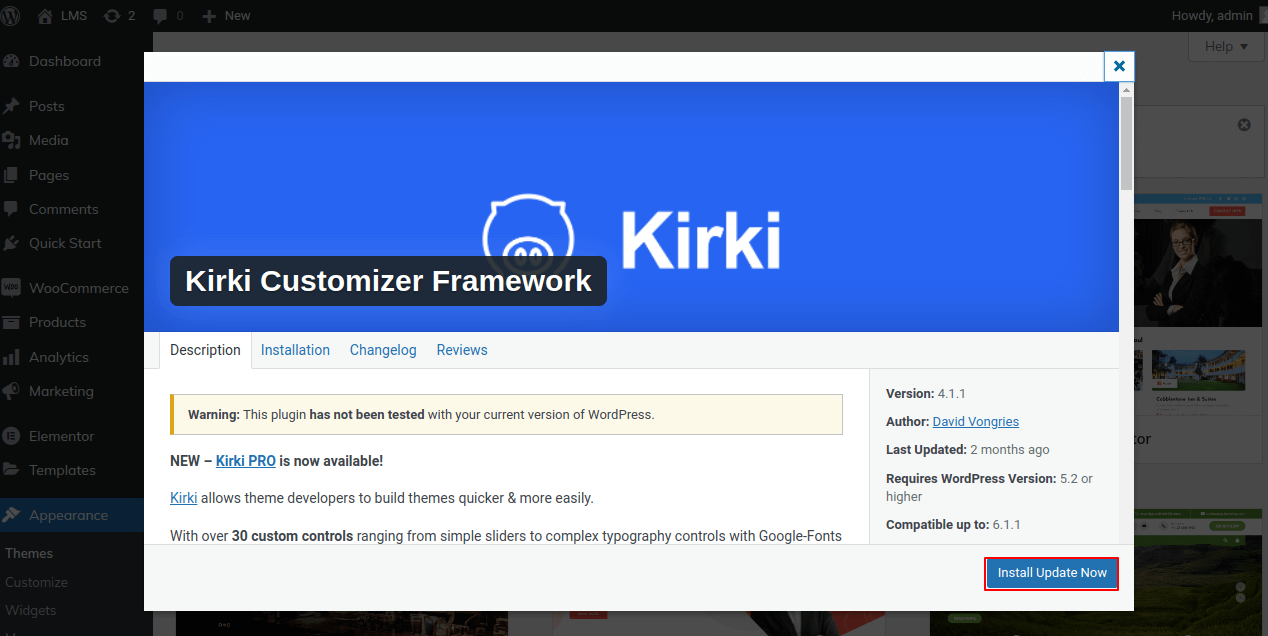
Simply click the install now button and activate the plugin.
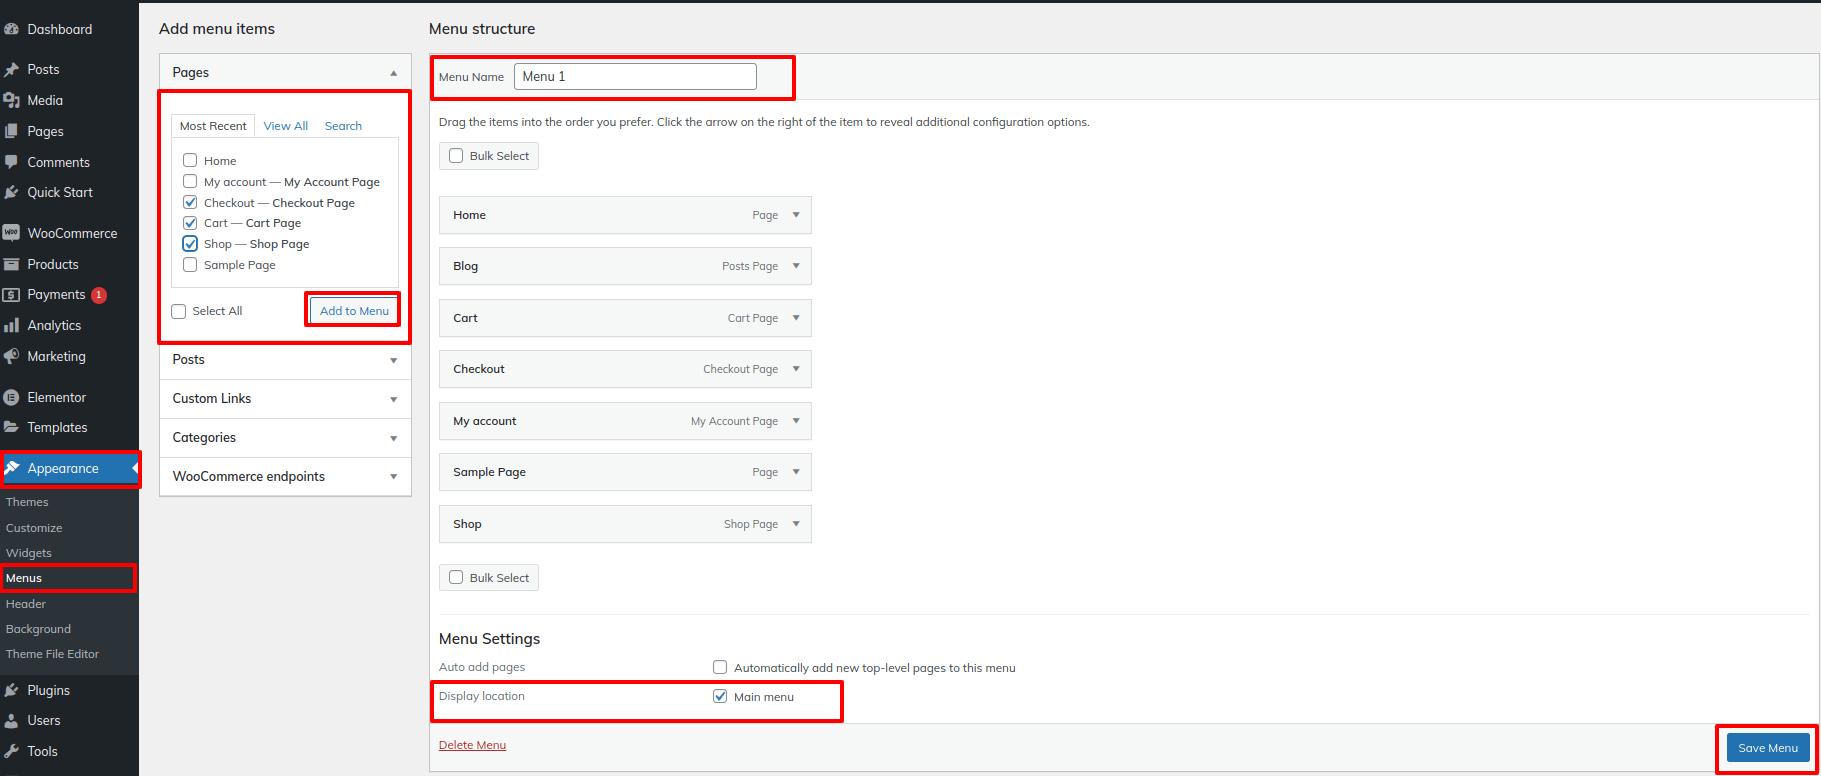
Navigation Menus Settings
Go to Appearance Menus
1.Pages must be added by checking the appropriate boxes. You can drag and drop the menu list into place after adding it.
2.Choosing a menu theme location from the below checkboxes.
Theme Setup
To import content, follow these steps.
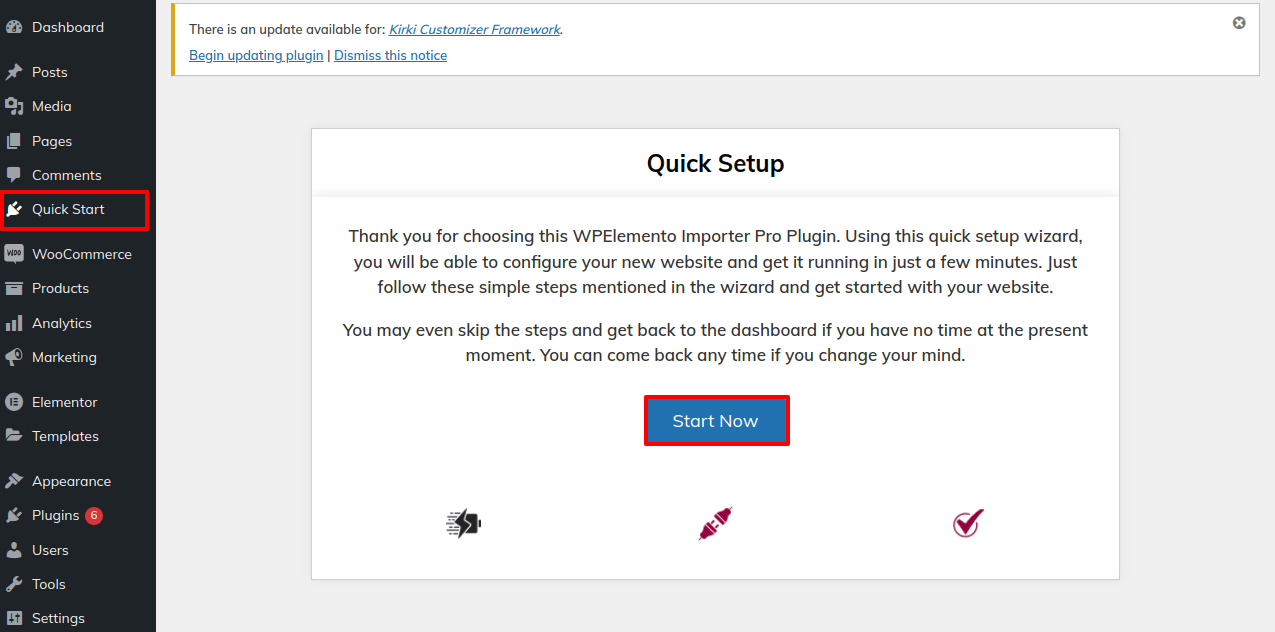
1) Click Dashboard Quick Start Start Now
Click On Start Now button
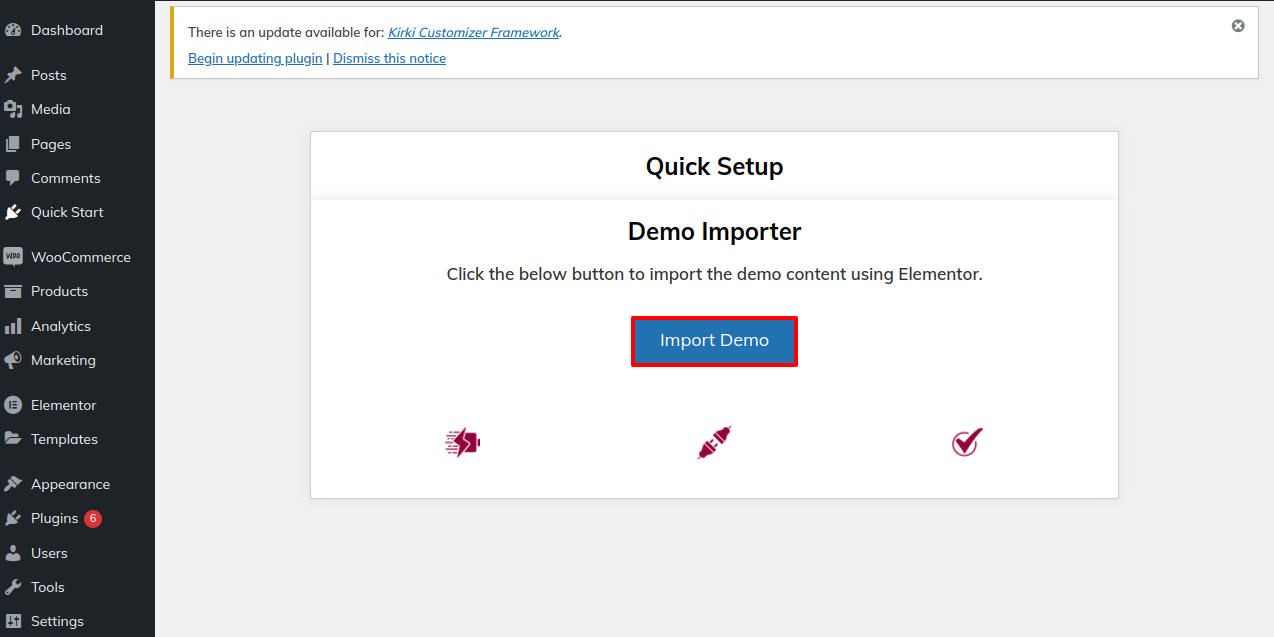
2) Then click on Import Demo button to start importing the demo.
3) Click on Visit Your Site button for visiting site.
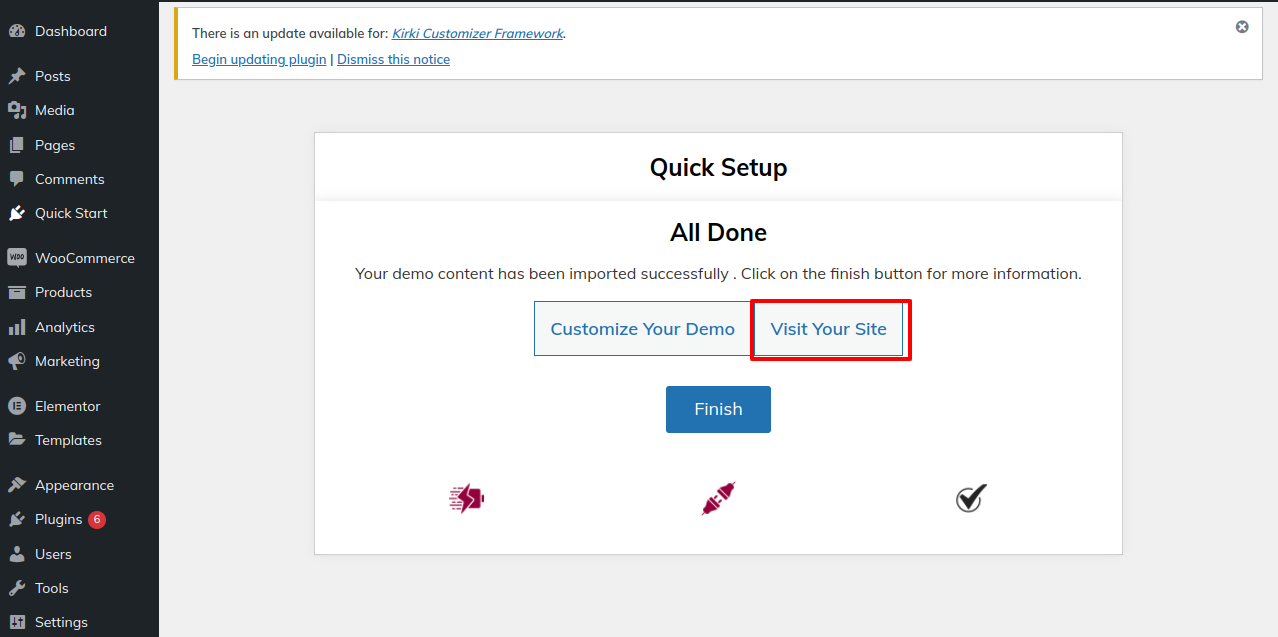
4) Now you can visit your site.
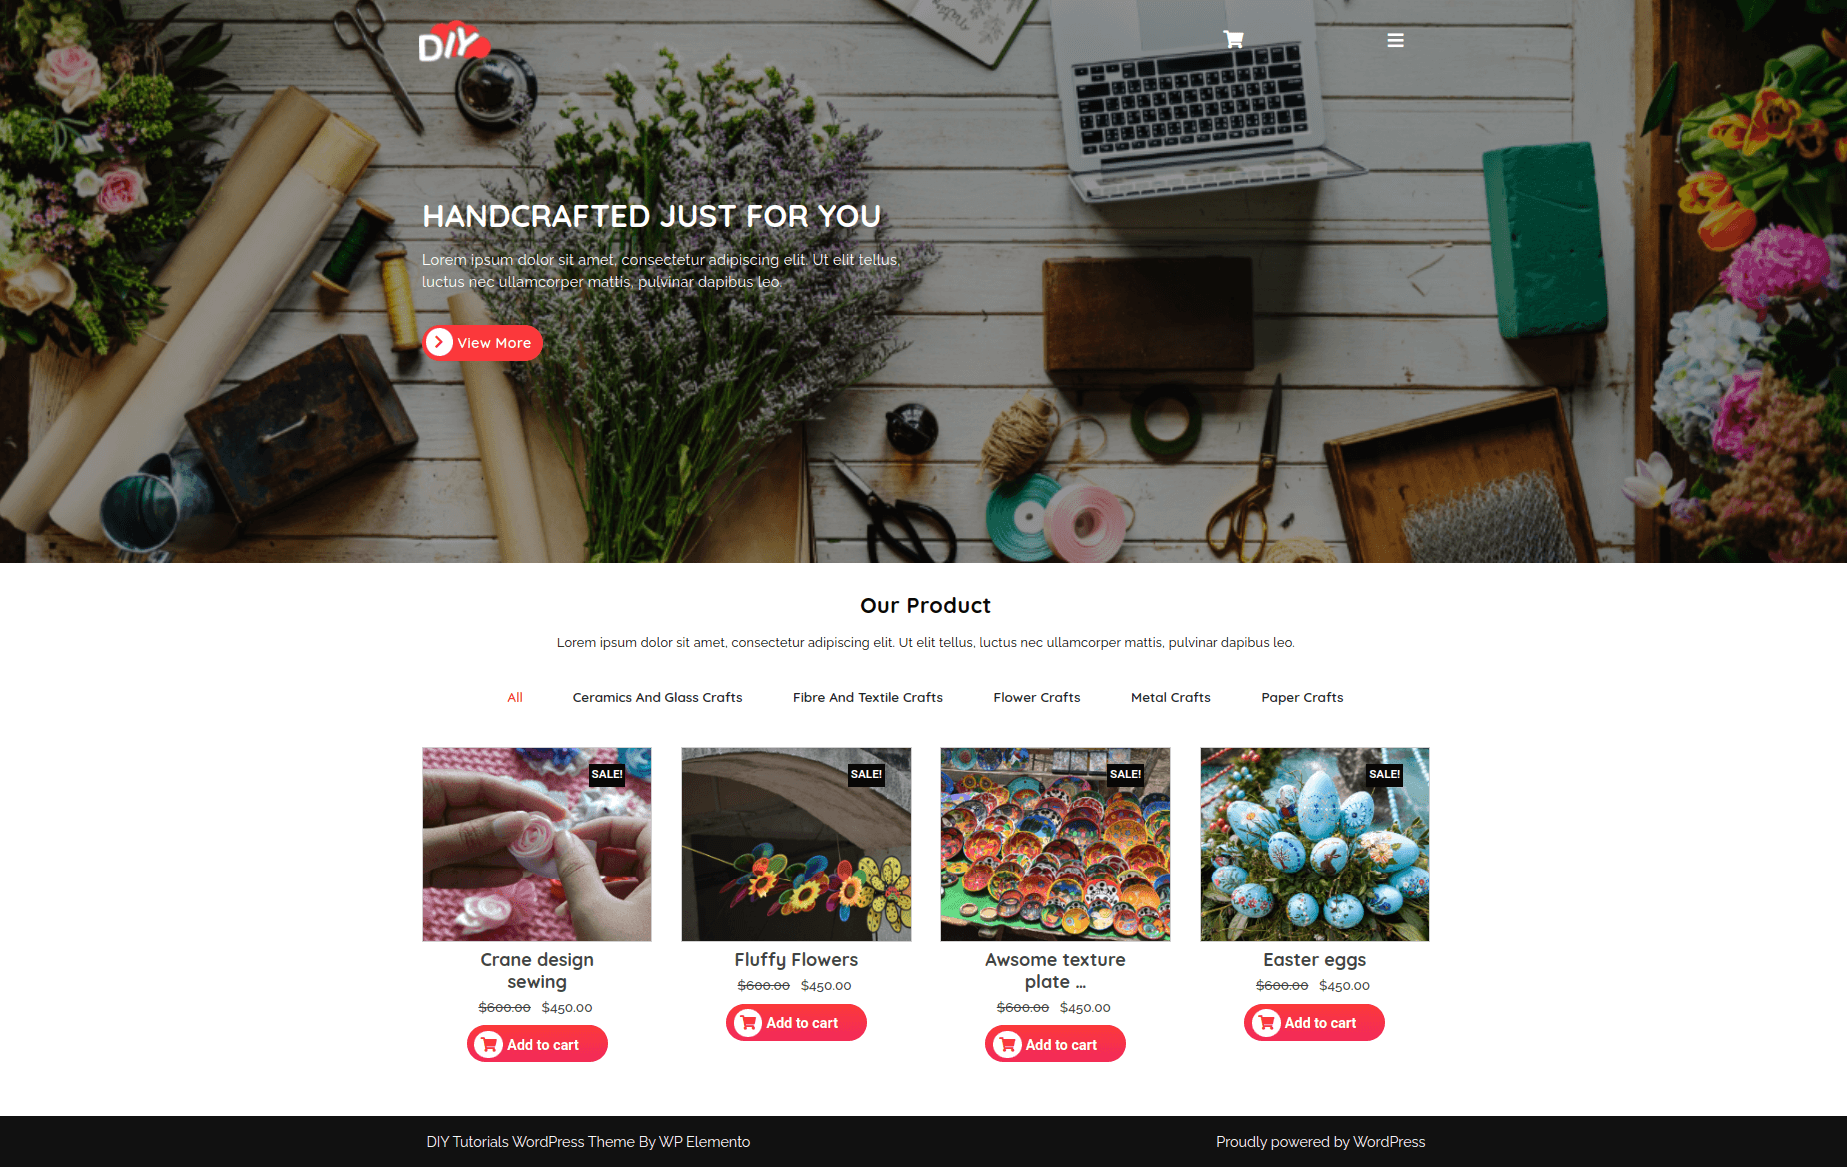
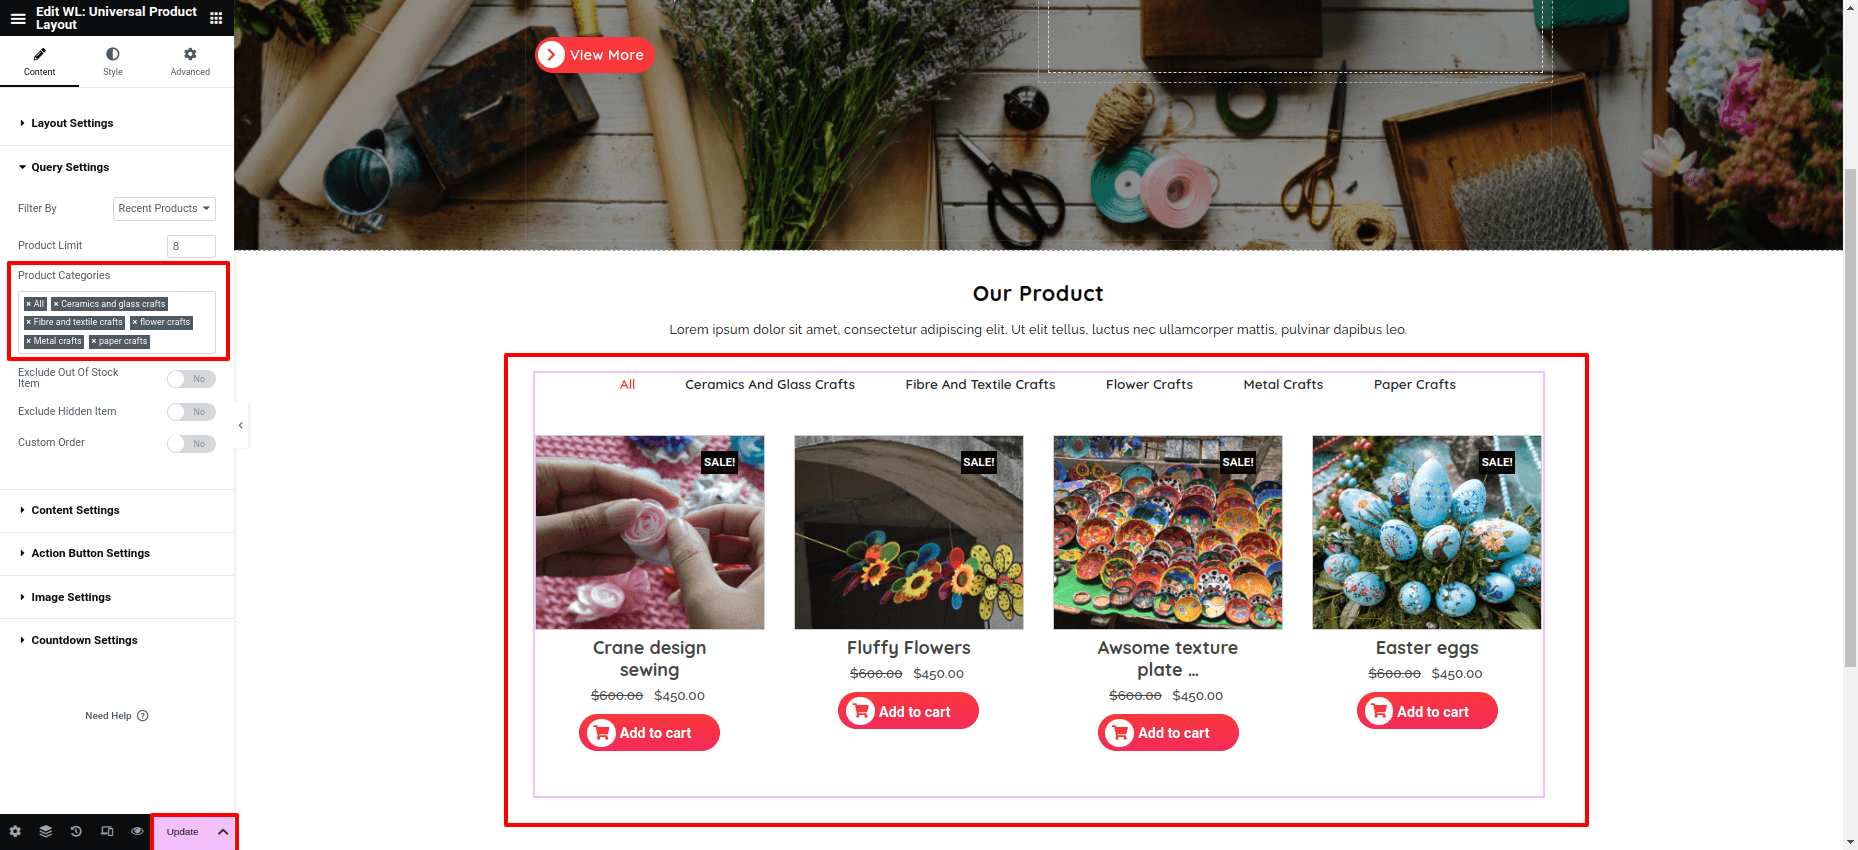
Our Product Section
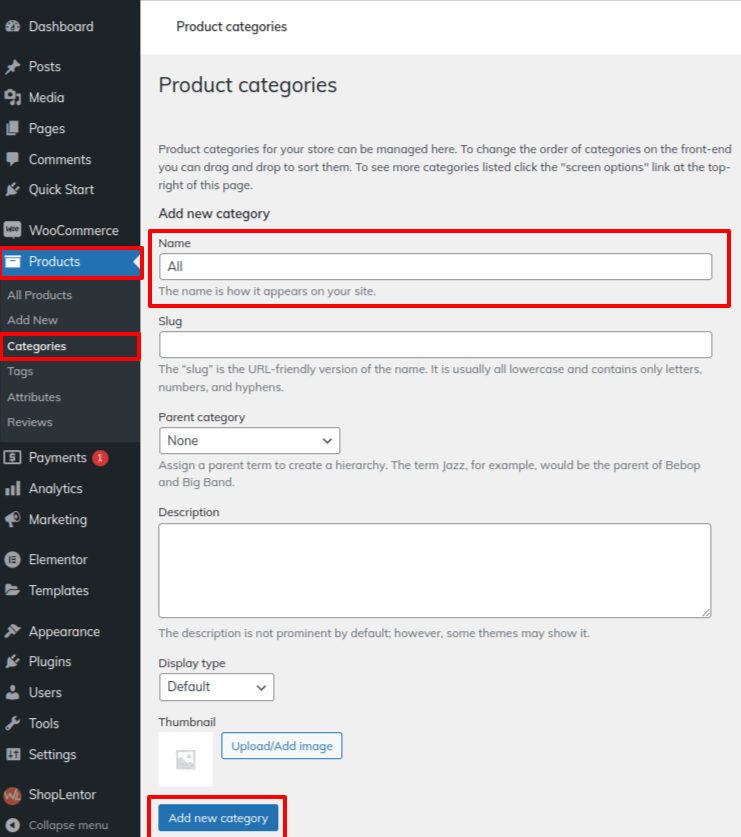
For Category to display Product.
1. Go to Dashboard Products Categories
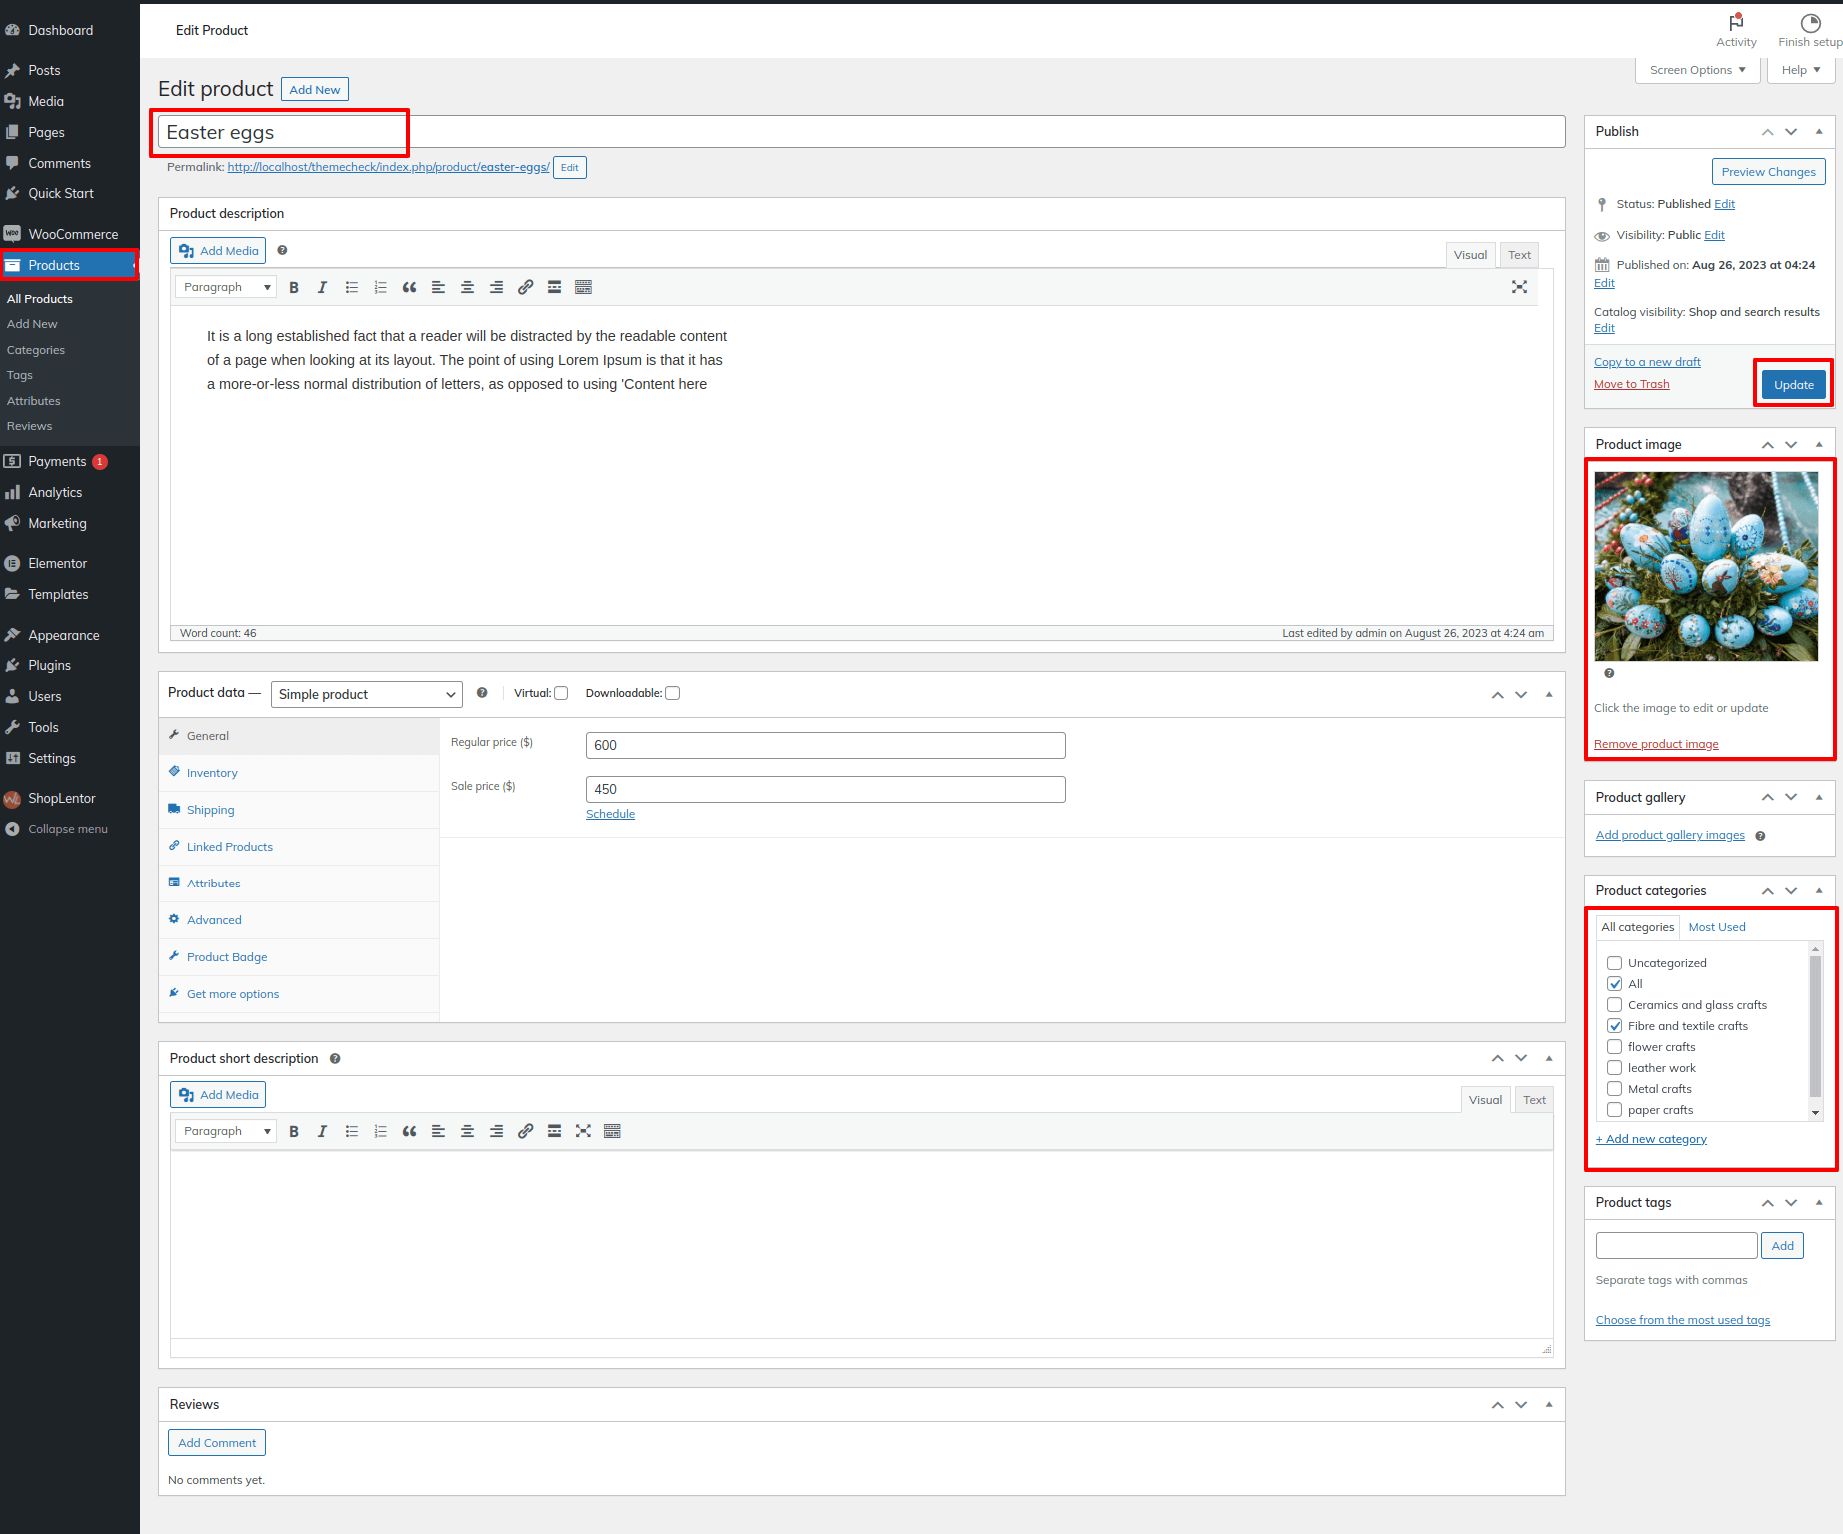
2. Go to Dashboard Products Add New
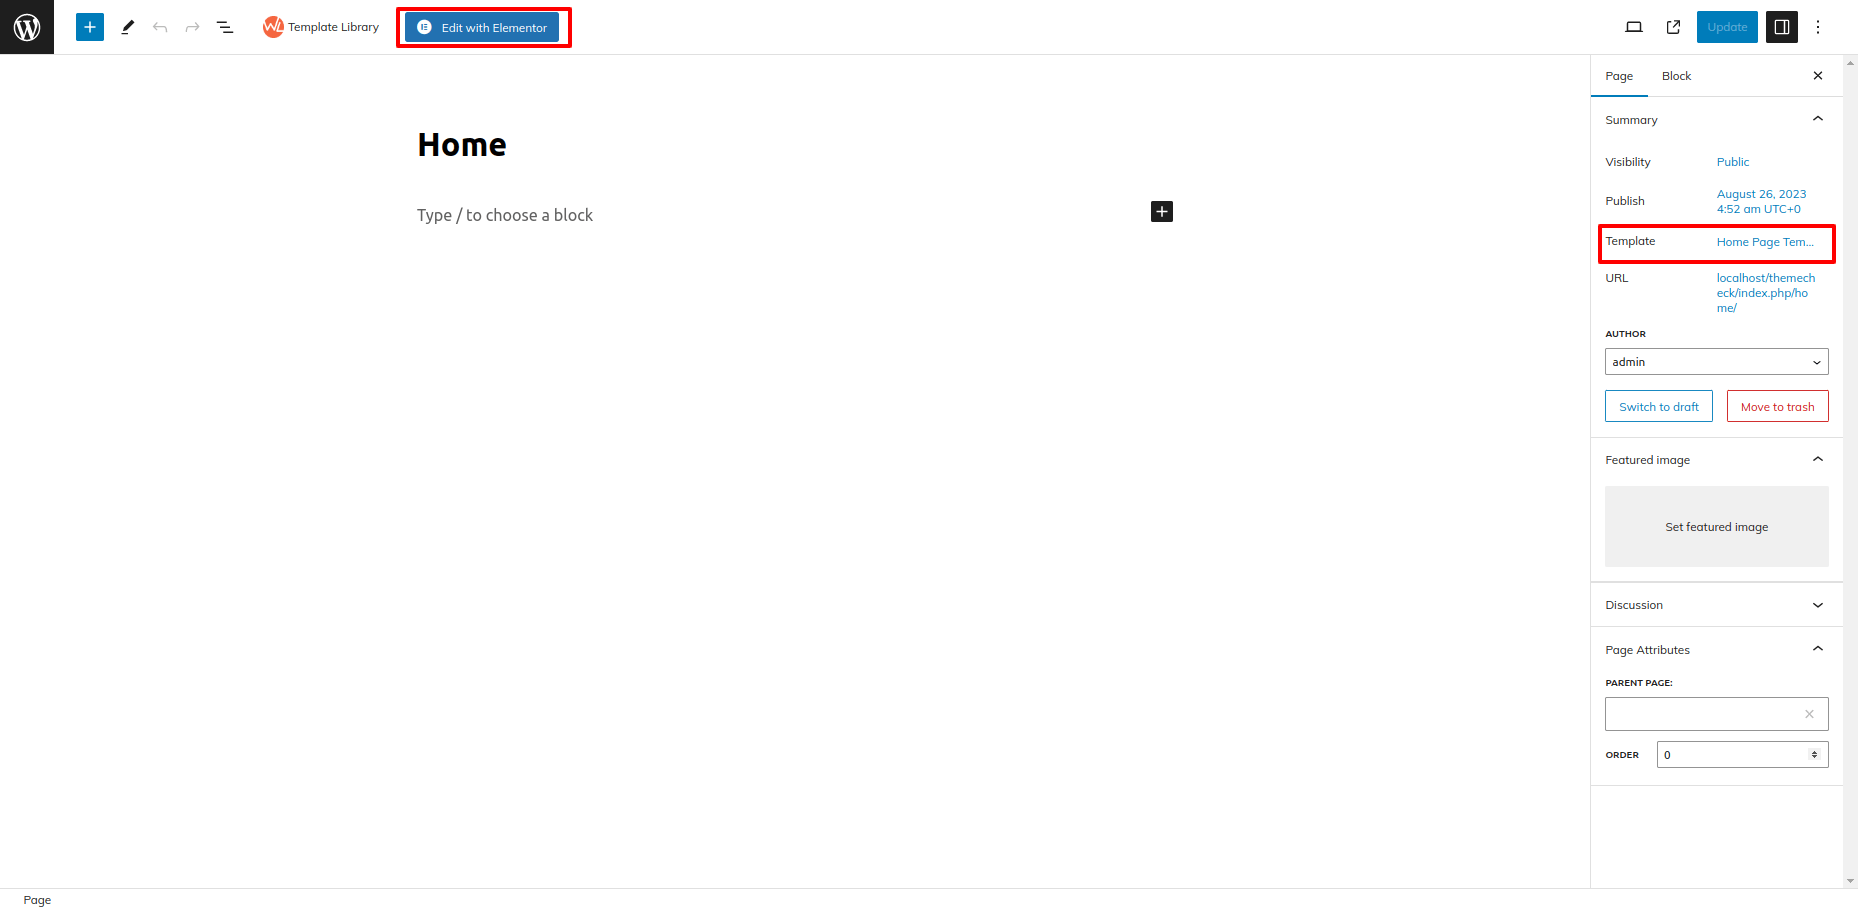
3. Go to Dashboard Pages Home (Homepage created by demo import in elementor)
i) Click on the edit with elementor button
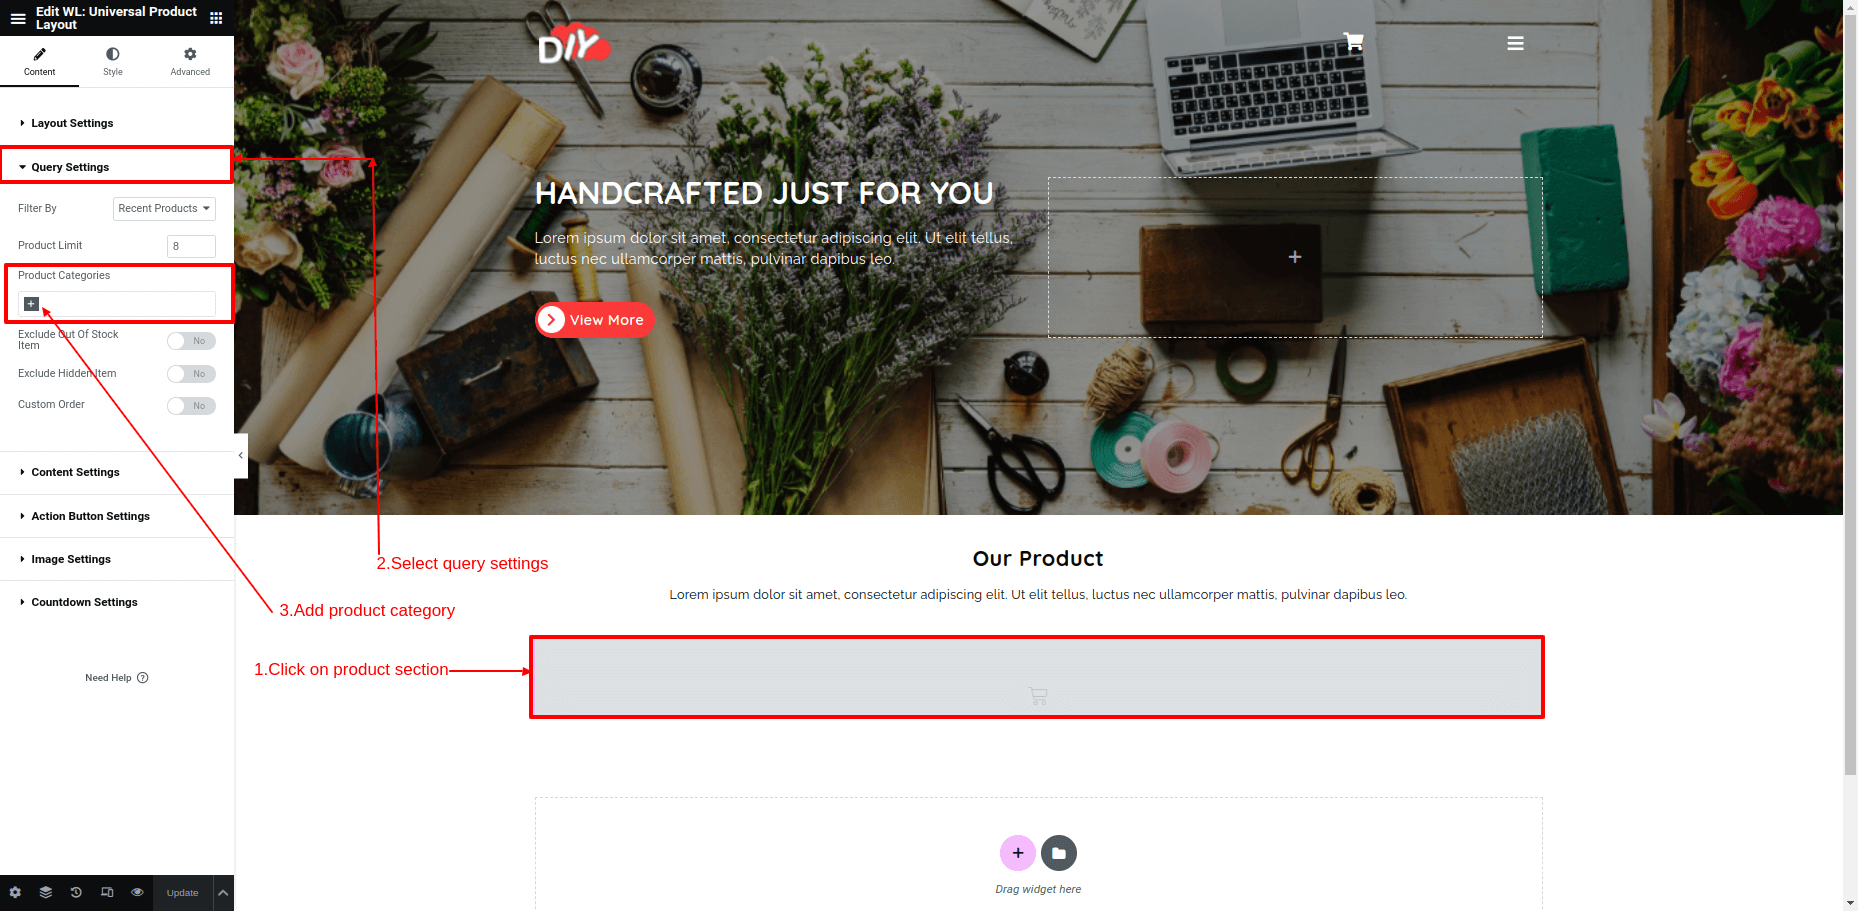
ii) Click on the Product Section Tab
iii) Select Query Settings
iv) Add Product Category
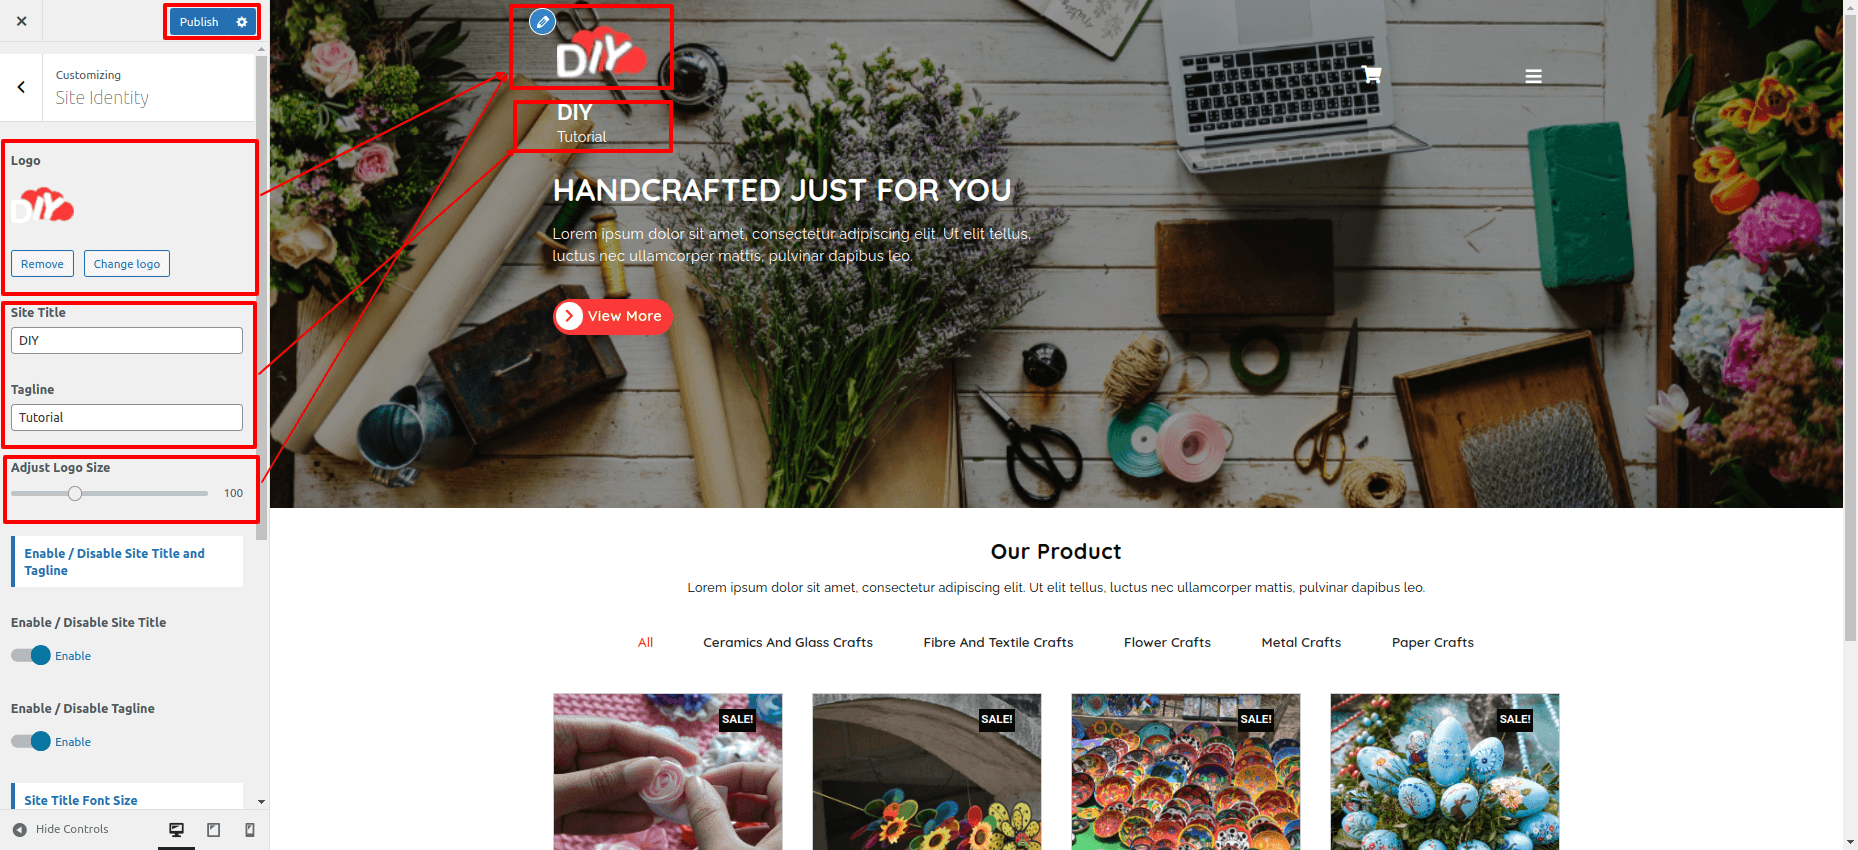
Logo Settings
In order to proceed with Site Identity Section
Go to Appearance Customize Site Identity
here you can add site title and tagline and also add enable/disable site title and tagline button.
Header Settings
In order to proceed with Header Section,
Go to Appearance Customize Theme Options Header Settings
1. Enable/Disable Shopping Cart: Here You have an option to enable/disable shopping cart.
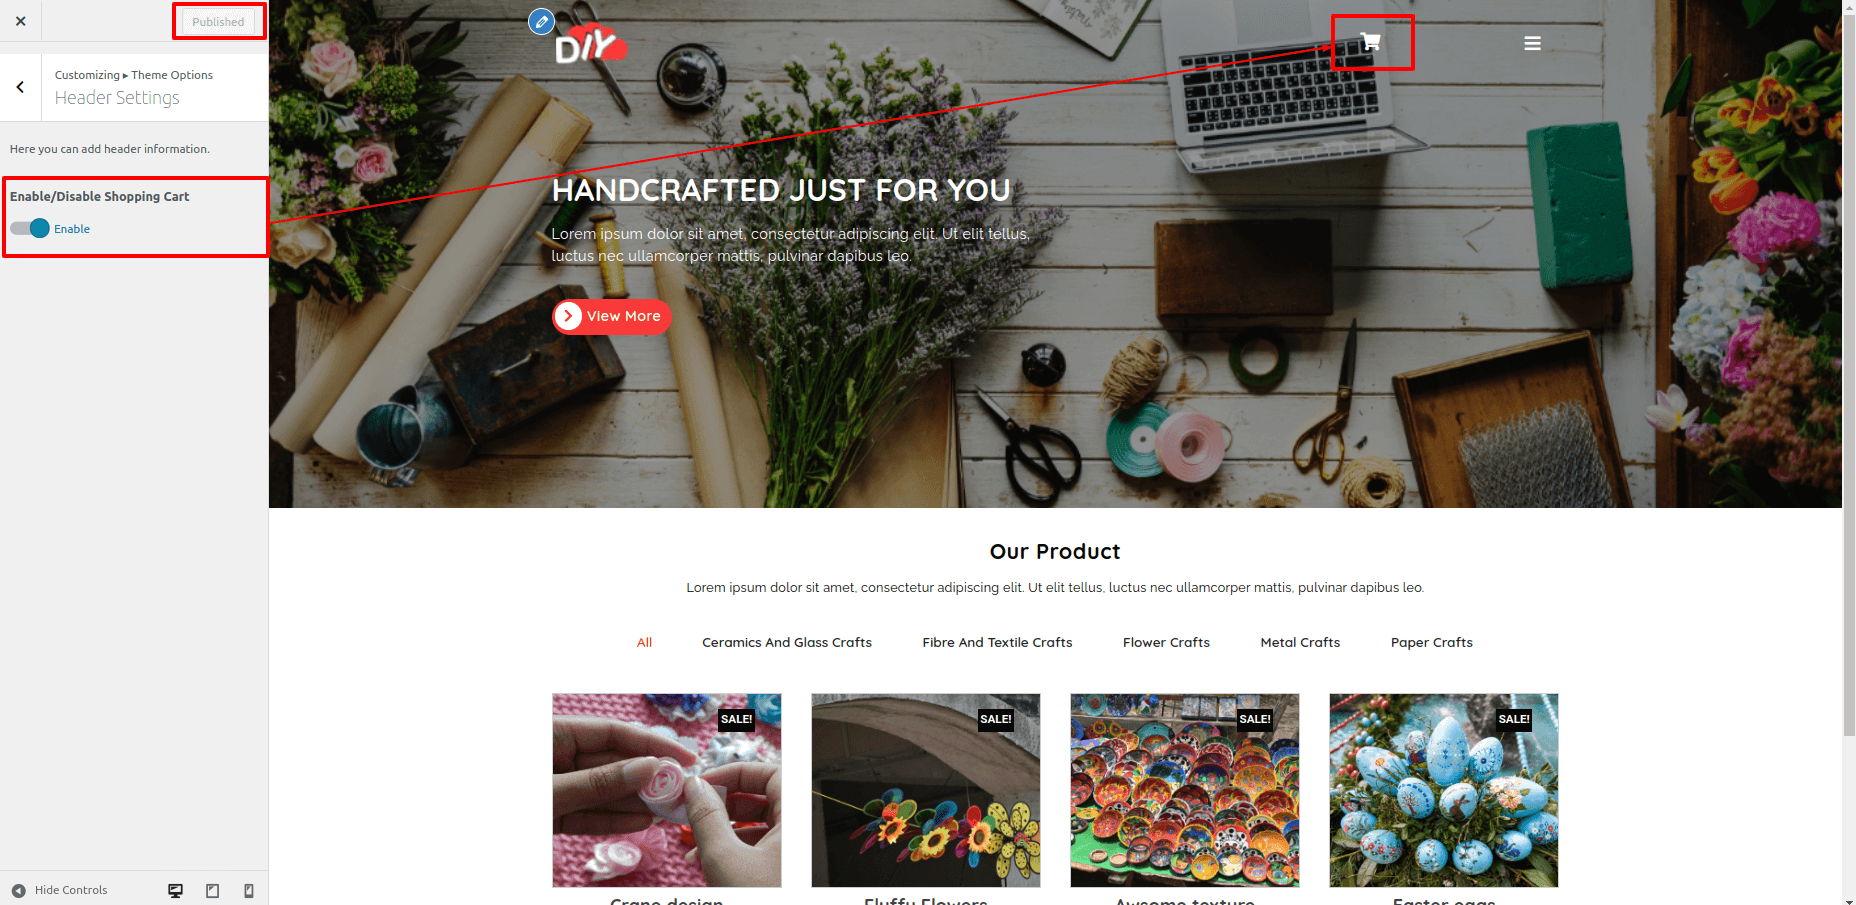
In this way you can add header section.
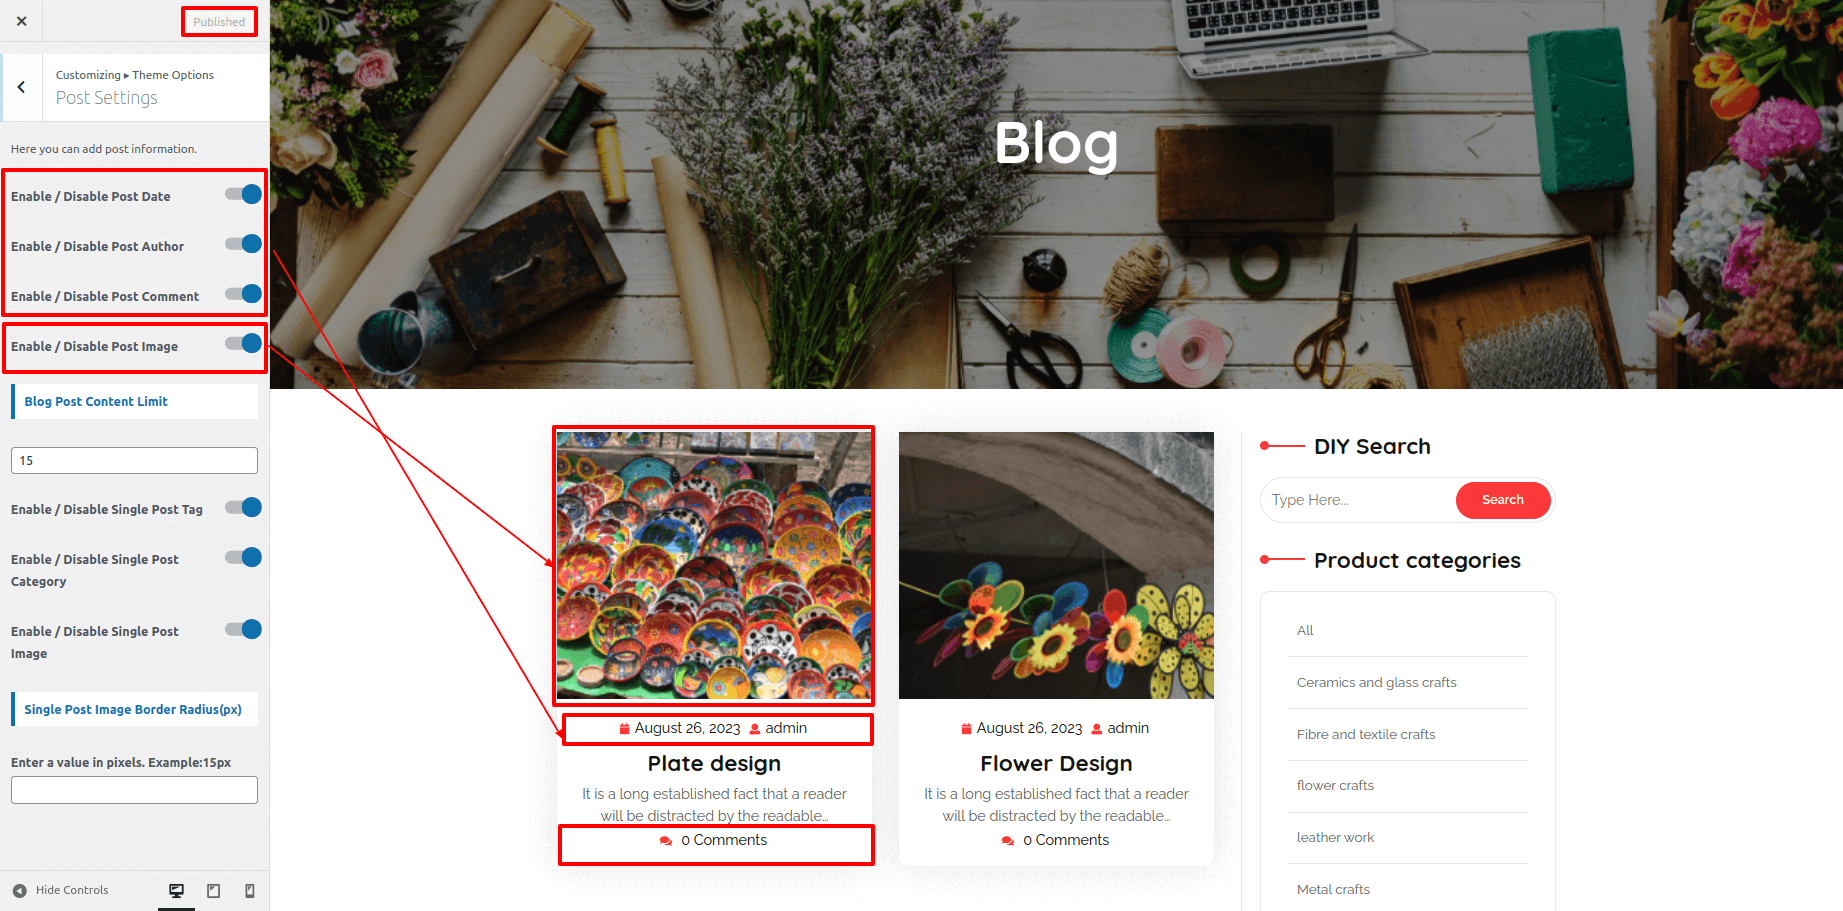
Post Settings
To set up Post Settings follow these instructions, Here you can add post information.
Go to Dashboard Customizer Theme Options Post Settings
1. Enable / Disable Post Date.
2. Enable / Disable Post Author.
3. Enable / Disable Post Comment.
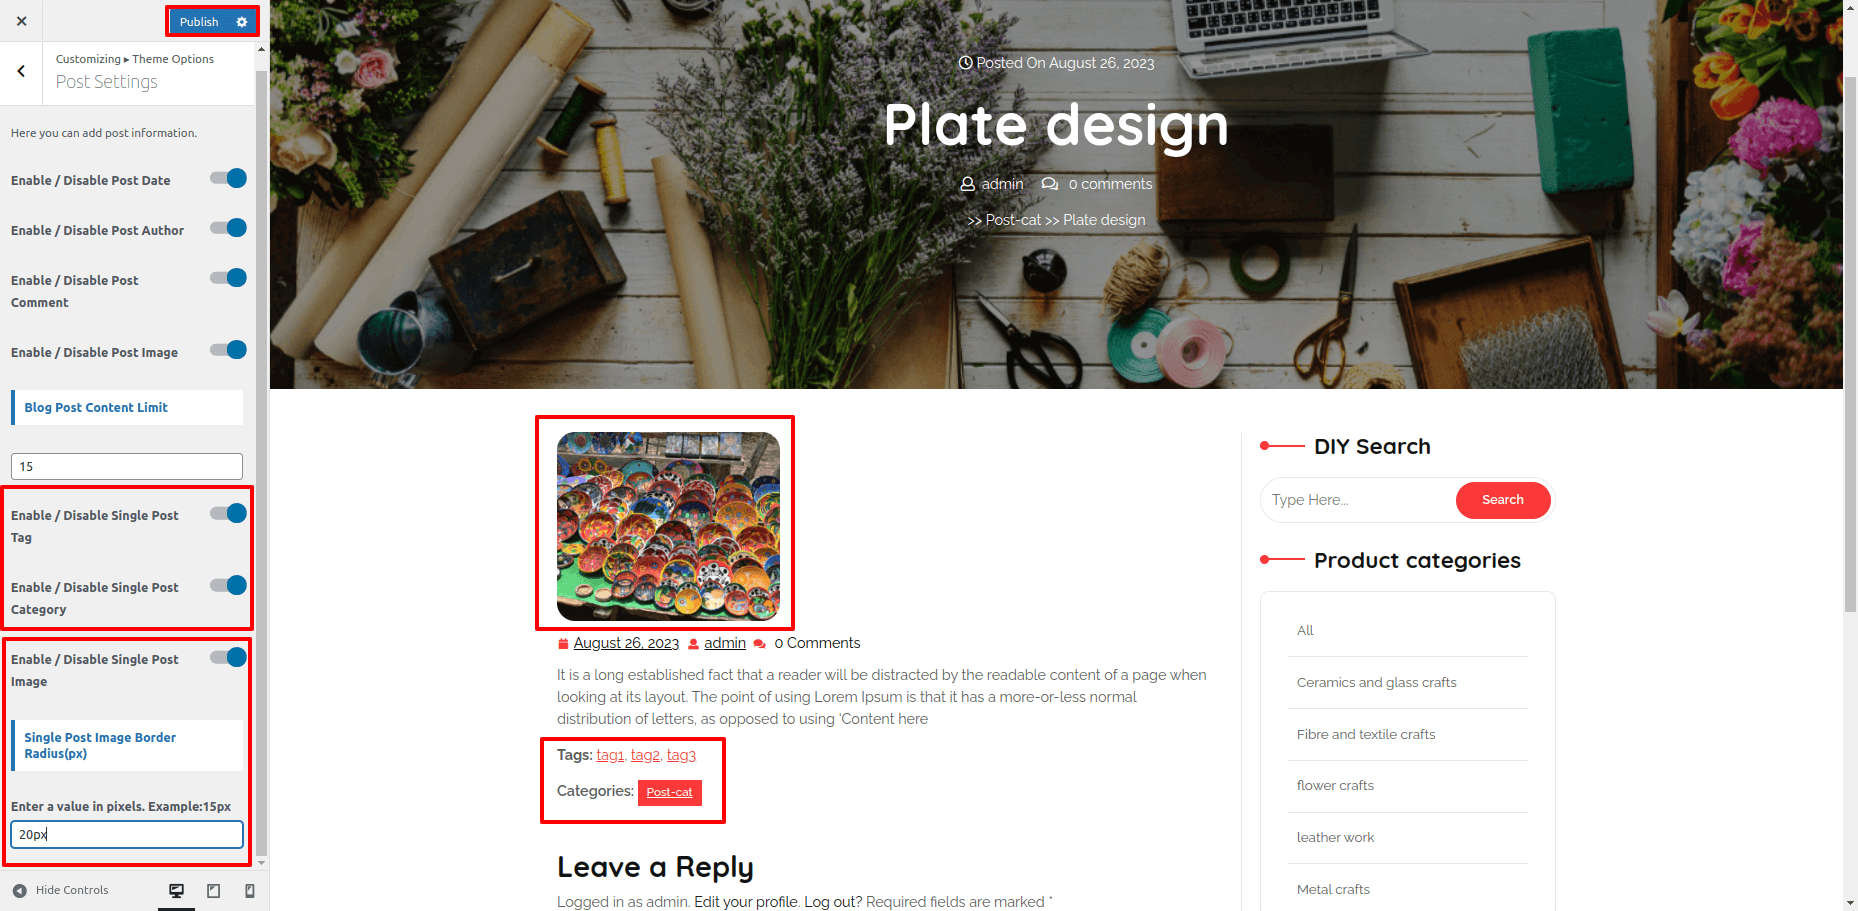
4. Enable / Disable Single Post Tag
5. Enable / Disable Single Post Category
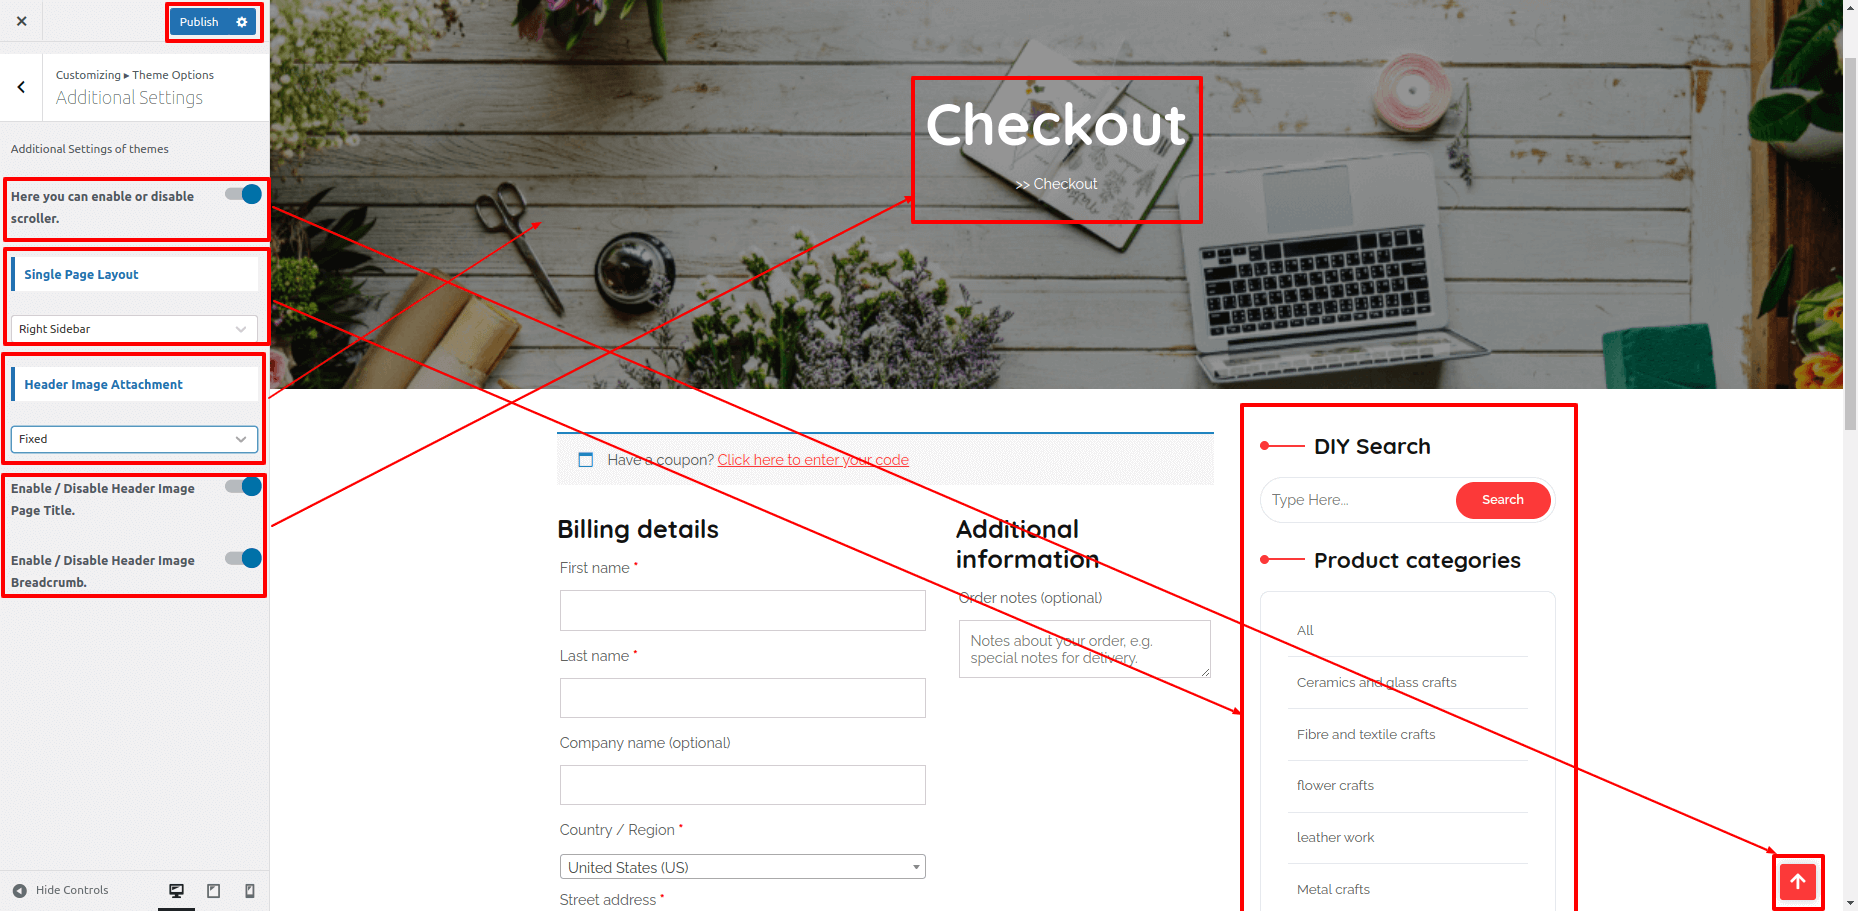
Additional Settings
In order to proceed with Additional Settings.
Go to Dashboard Customizer Theme Options Additional Settings
1. Here you can enable or disable scroller.
2. Header Image Attachment.
3. Here you can enable or disable Header Image Page Title.
4. Here you can enable or disable Header Image Breadcrumb.
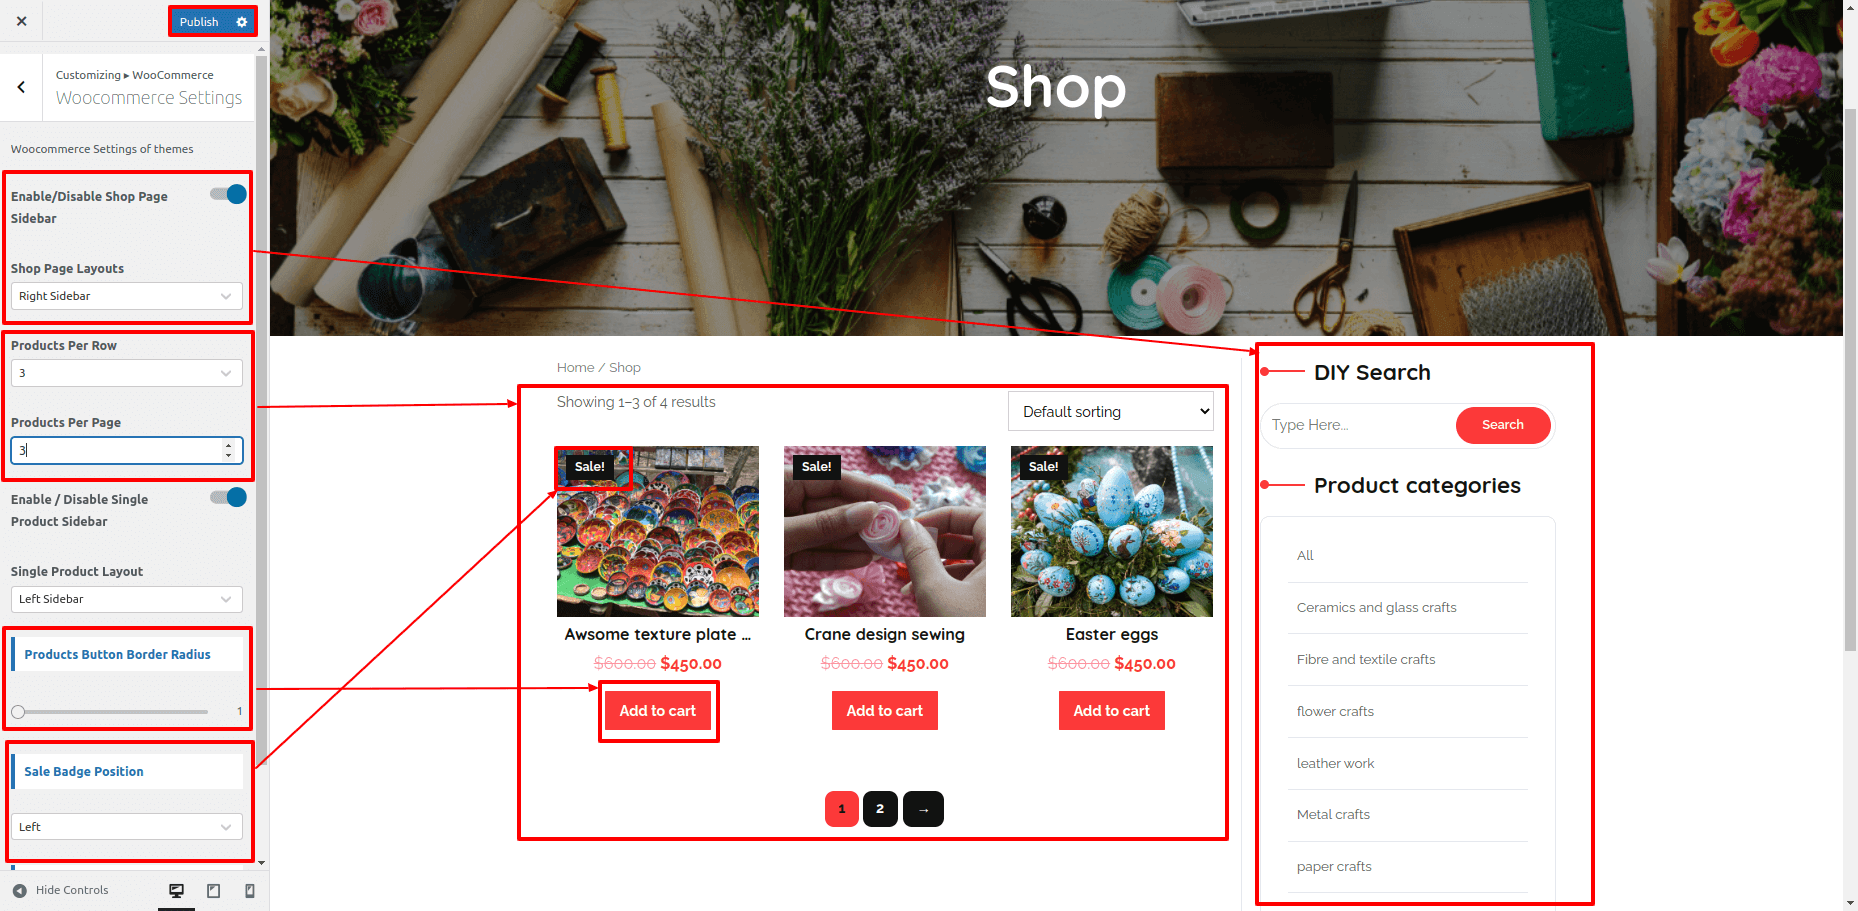
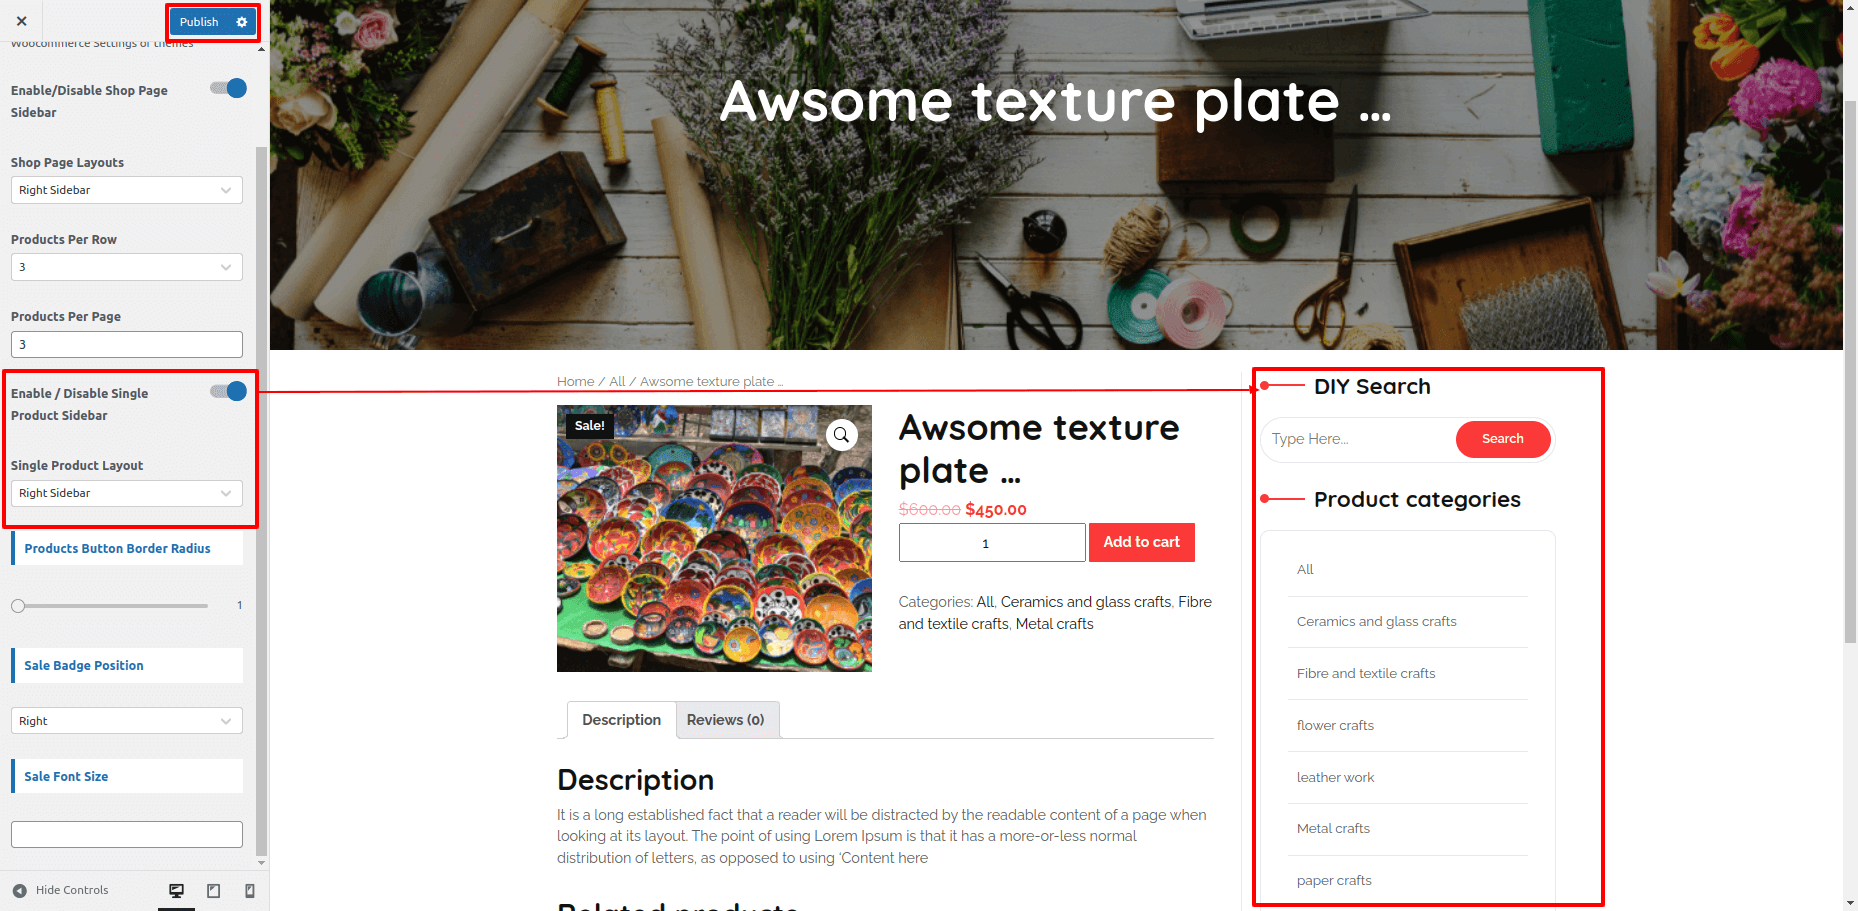
Woocommerce Settings
To set up shop page follow these instructions, Here you can add Product Settings.
Go to Dashboard Customizer woocommerce Woocommerce Settings
1. Enable/Disable Shop Page Sidebar.
2. Shop Page Layouts.
3. Select Products Per Row.
4. Select Products Per Page
5. Enable / Disable Single Product Sidebar
6. Select Single Product Layout
7. Products Button Border Radius
8. Sale Badge Position
9. Enable / Disable Single Post Category
10. Sale Font Size
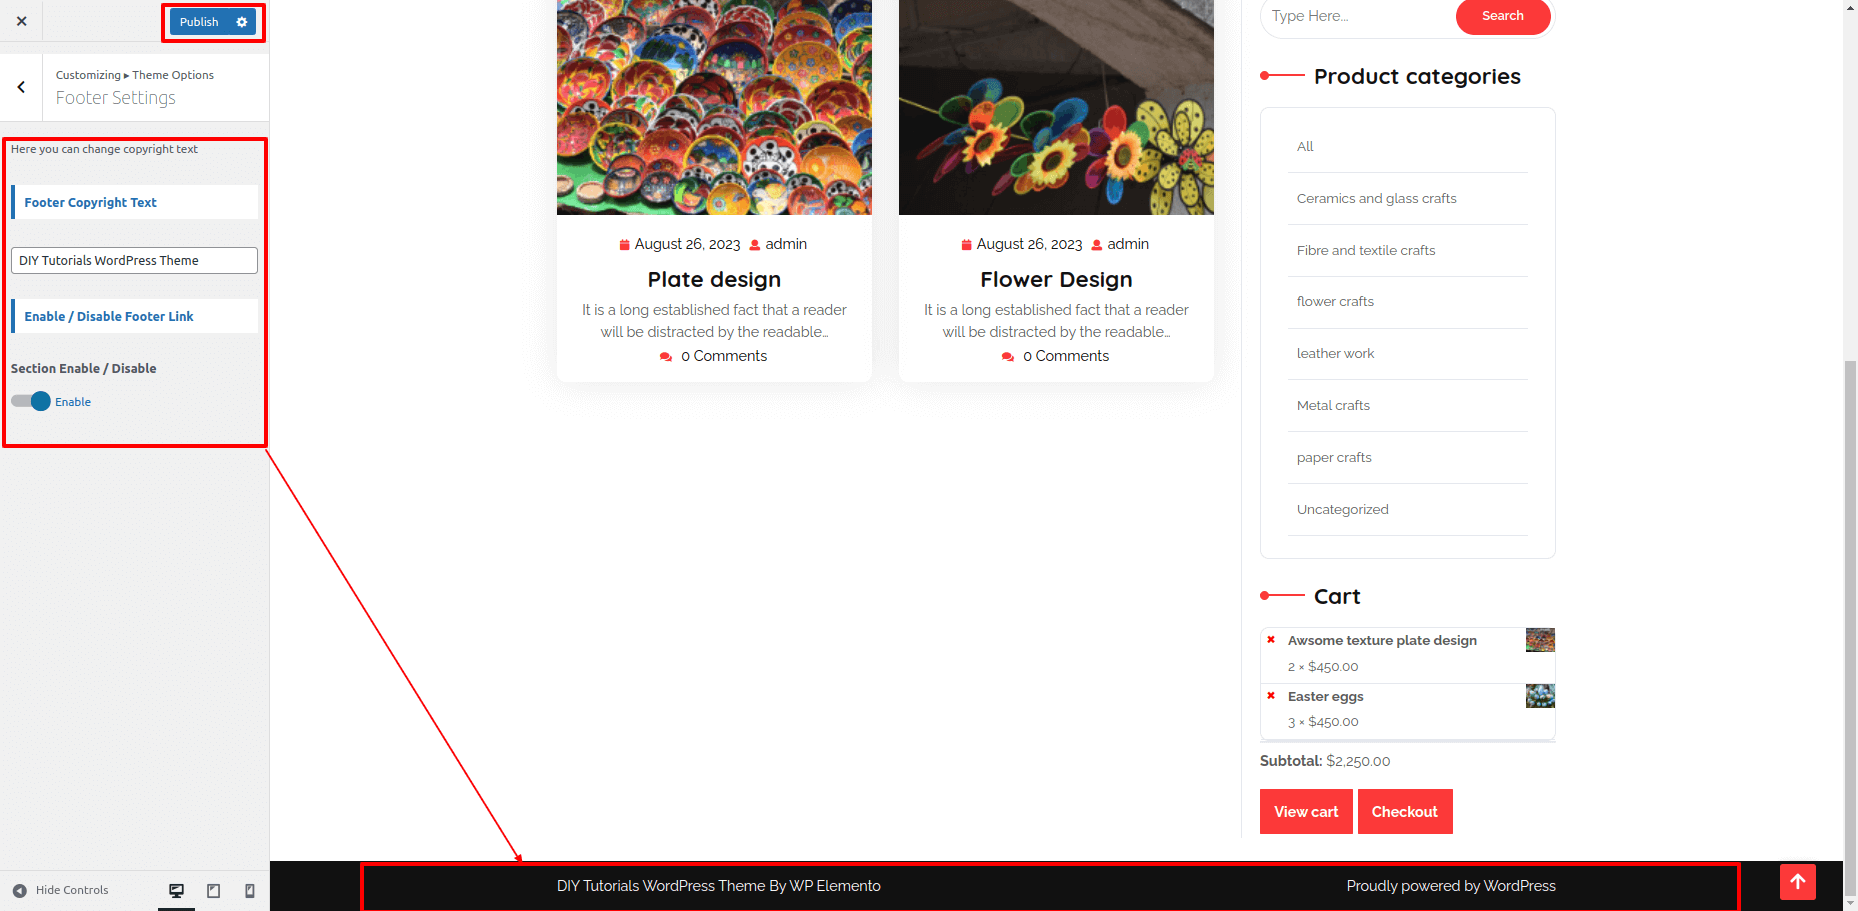
Footer Settings
To set up Footer Settings follow these instructions.
Go to Dashboard Customizer Theme Options Footer Settings
Here you can change copyright text
1. Footer Copyright Text.
2. Enable / Disable Footer Link.